Before & After: Preparing a Traditional North Jersey Home to Sell
When I walked into this house, I knew immediately that the homeowner needed some guidance in preparing her home to sell. But she was obviously feeling stuck. Like many of the homes I enter for a staging consultation, pre-packing and decluttering had already begun. But what now? I’m going to break down the key areas we focused on during our occupied staging consultation.
The Master Bedroom
This homeowner had an unusually large and long master bedroom space. It was so big, in fact, that she used the far end of it as an office, and had even installed pendant lighting over it. But buyers don’t want a home office in their idealistic master bedroom. We had to remove focus from it.
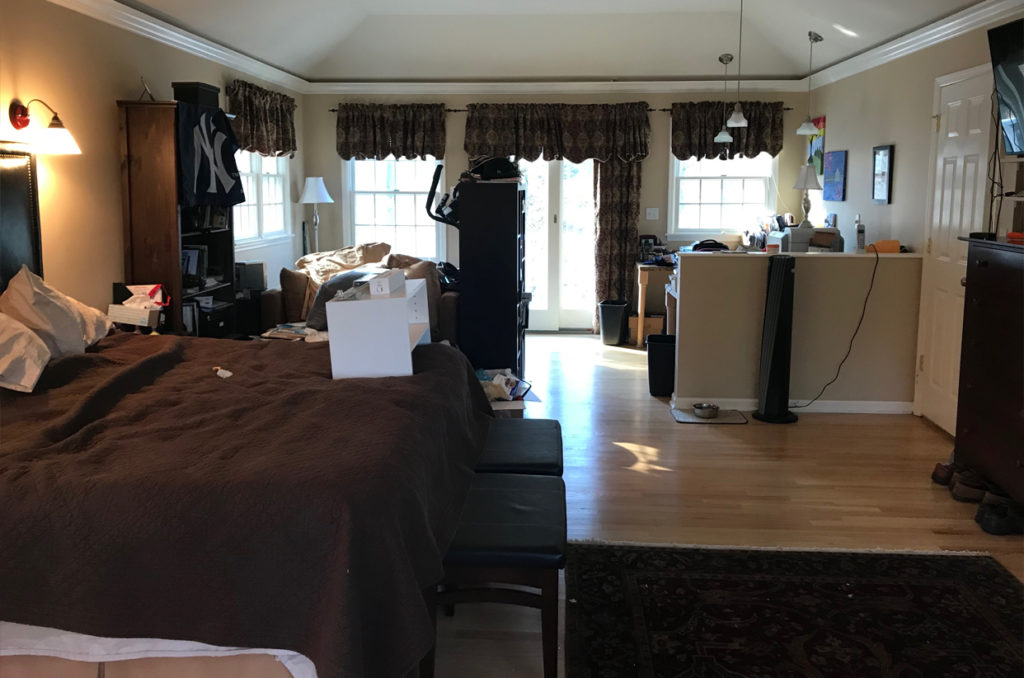
The game plan was to focus on a few key things:
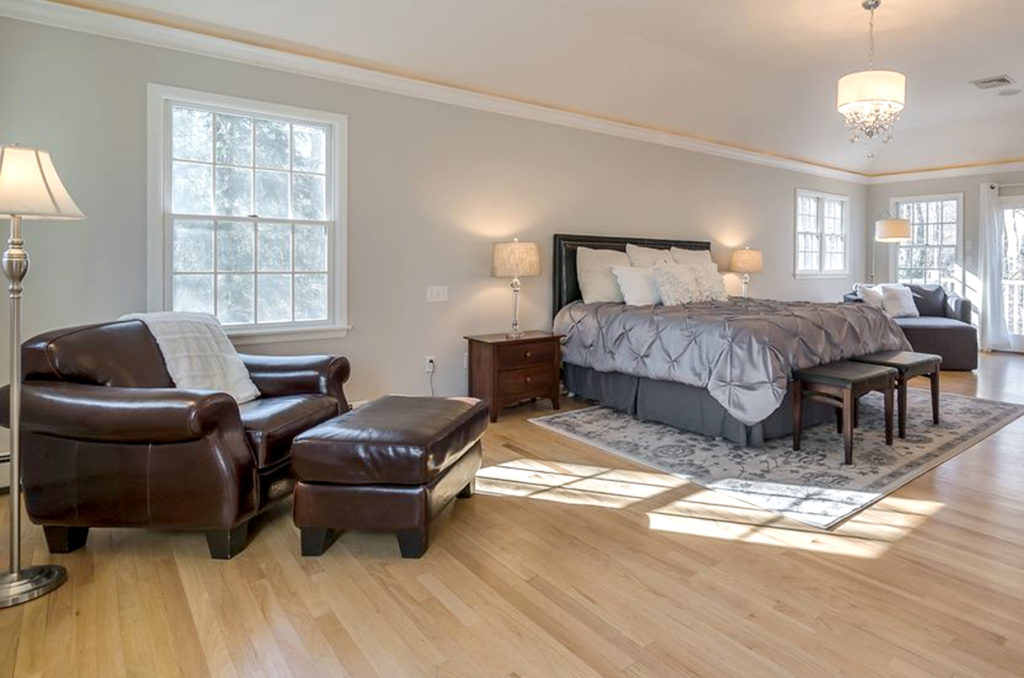
- updating the space by swapping out the beige tones for gray tones
- allowing the beautiful natural light from three sides of the room to flood in
- creating zones to relax in
- replacing the work area with a dresser
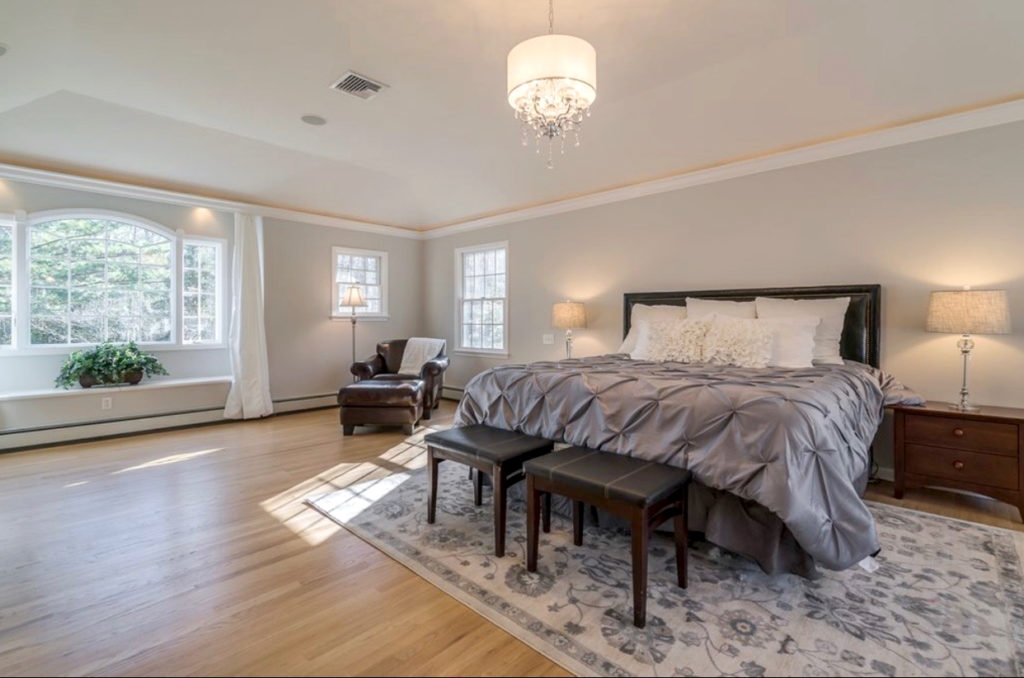
The room needed a rug large to anchor the bed in the middle of the room, as well as new lighting. The dated sconces flanking the bed and the generic, dark, heavy ceiling fan weren’t going to impress anyone in this otherwise beautiful home. Finally, we wanted to highlight the one, quaint, architectural feature in the room–the built-in window seat.

The Formal Living Room
A fresh, new wall color would benefit the overly dark and dramatic living room for selling. We chose a yellow-beige that complemented the furniture since the classic, black and white fireplace would work with just about any color. I also instructed the homeowner how to rearrange the furniture to best highlight the room’s architectural features.
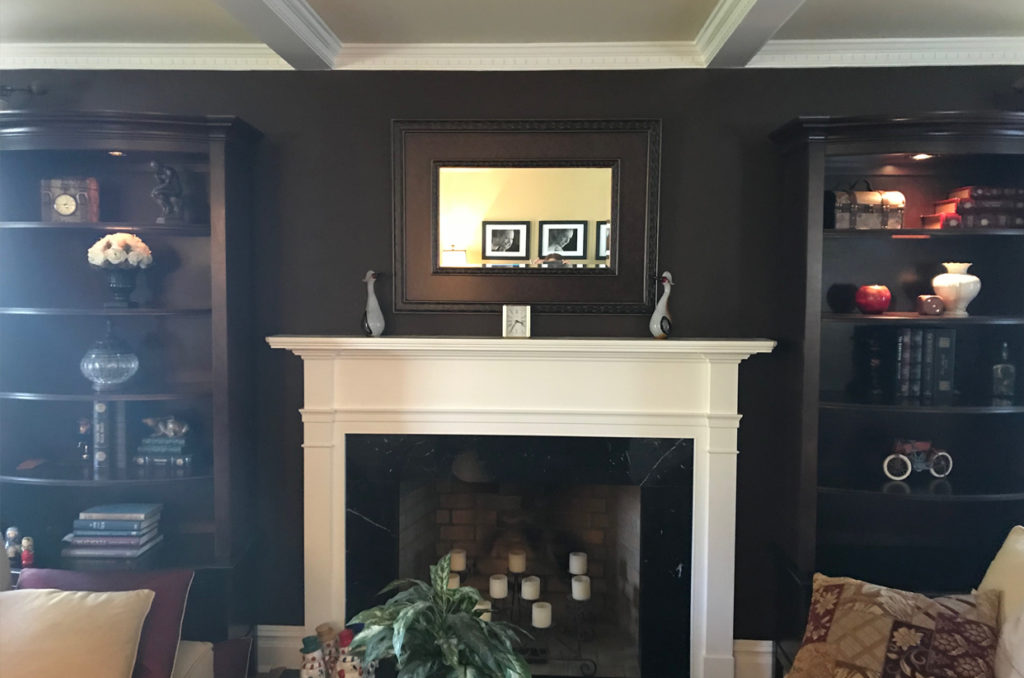
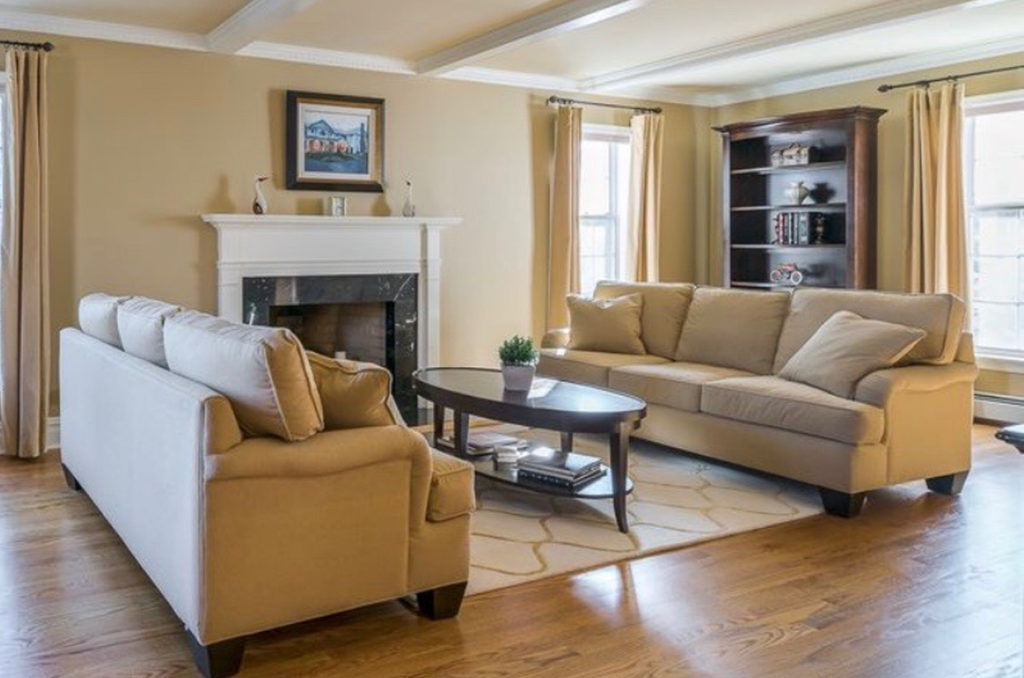
This is a good time to discuss how important professional photos are. Do you see how my “before” shots are just too tight and don’t show enough of the space? A professional real estate photographer will use a wide lens and know just where to stand to capture the essence of the room. When 99% of home buyers are shopping online for a home before deciding to ever step foot into yours, you’d better believe that hiring a professional photographer is worth the investment!
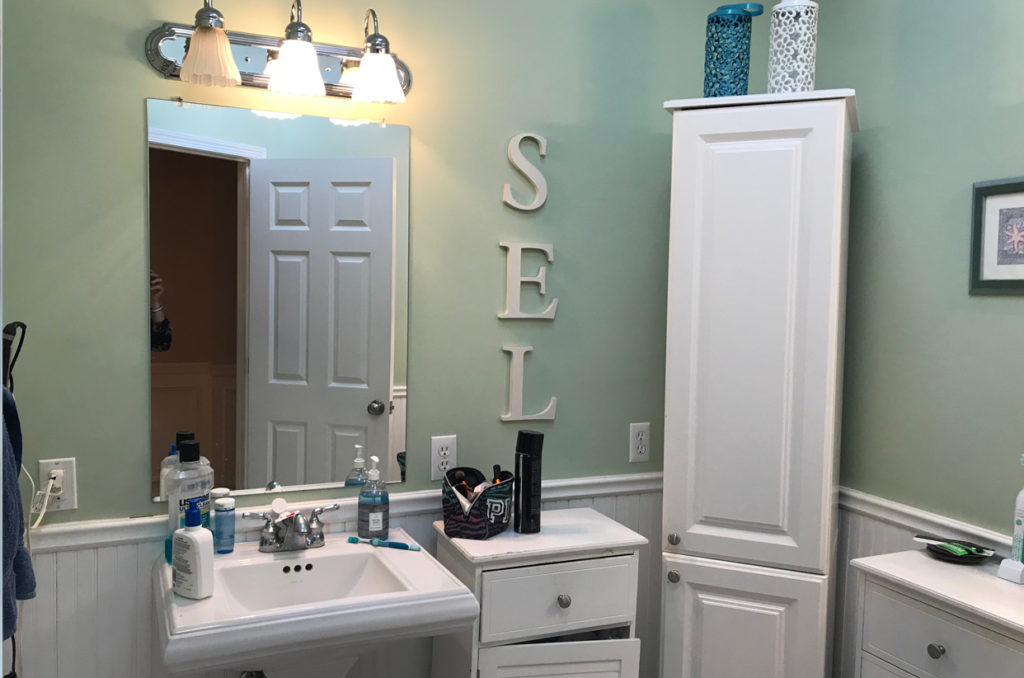
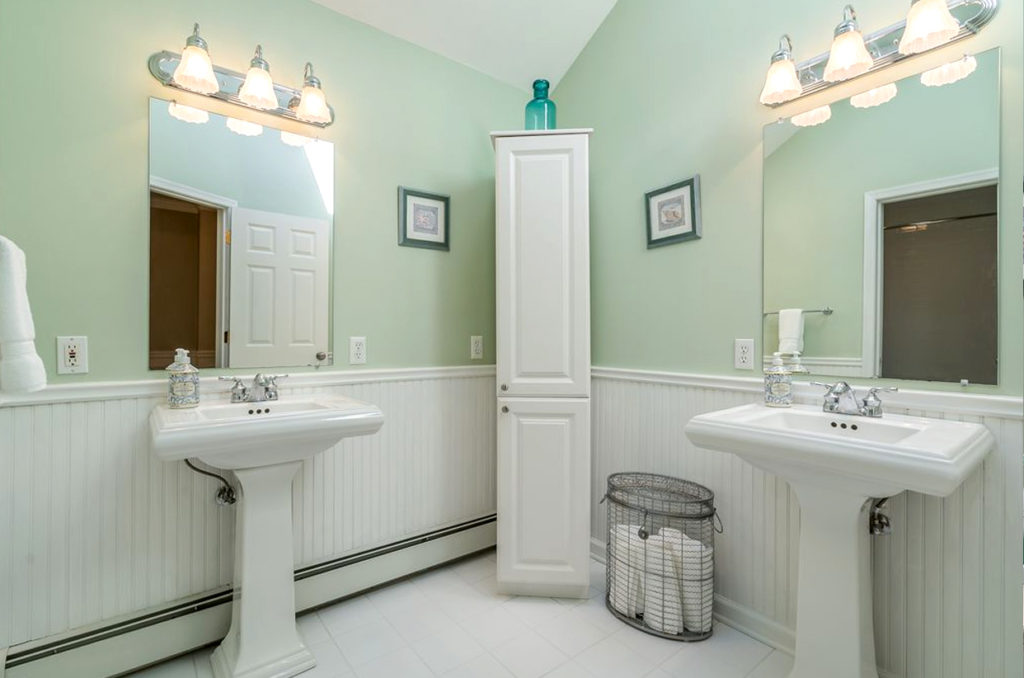
The Kids’ Bathroom
When staging to sell, rooms should appear spacious, yet remain functional for the family that still lives there. I suggested that the homeowner remove the two low cabinets. The remaining tall cabinet would provide enough storage during the selling season. We neutralized the wall by removing the initial letters, and left “just enough” decor in the bathroom to make it appear decorated, but not taste-specific.
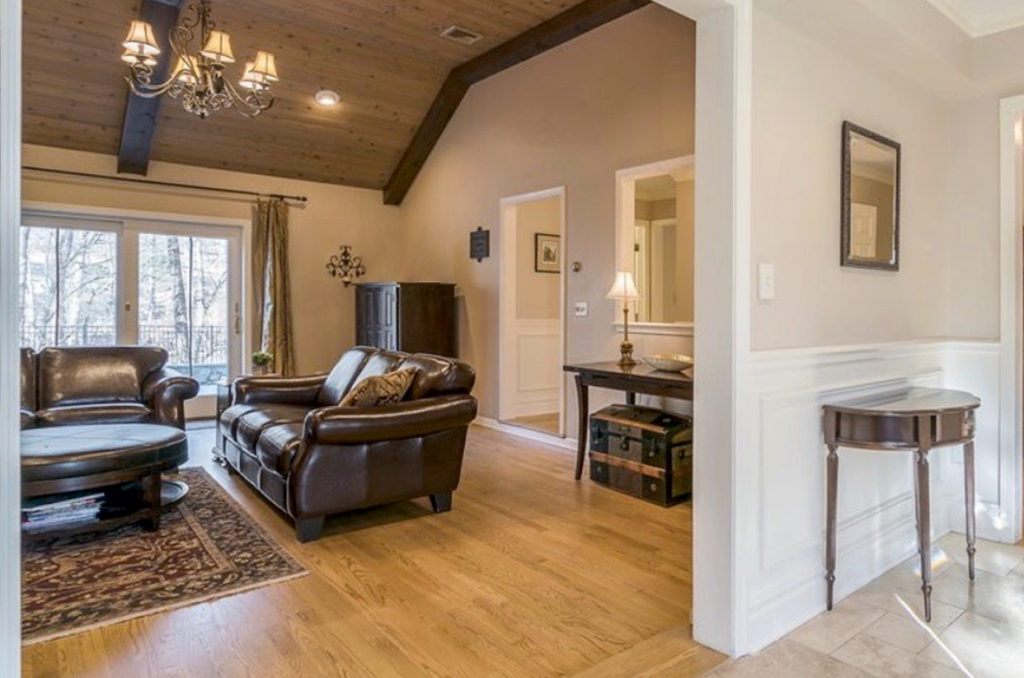
The Family Room
The family room was dark with leather furniture, wood ceilings, and windows on just one wall. Removing the photos and items on top of the armoire helped lighten the space. So did that wide-angle, professional camera lens! You can see more of the room and not just the dark, heavy furniture. As an occupied stager who likes to reuse what the homeowners already own as often as possible, I recommended a smaller rug to show off more of the hardwood floor. Ideally, I would recommend a new, light-colored area rug in a smaller size but time and budget constraints often say otherwise.

The Cherry Kitchen
This homeowner wasn’t up for painting cabinetry. And there sure was a lot! One quick remedy to break up all the wood in the eat-in kitchen was to paint the chair legs at the kitchen table to match the black counter stools. They were originally all wood but, unfortunately, I don’t have before image to show you.
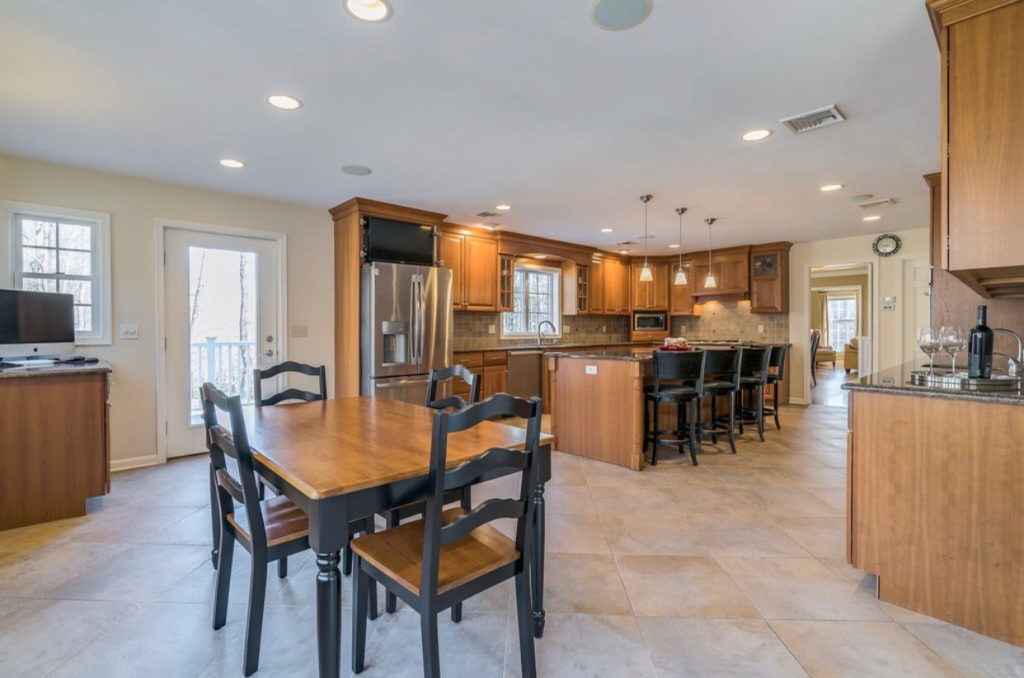
Let’s face it, when you have a kitchen this big, it becomes a lot of things–including another cluttered office! The homeowner removed most of these extra items to highlight these gorgeous windows. We brought the outside “in” by placing a tree in this space.

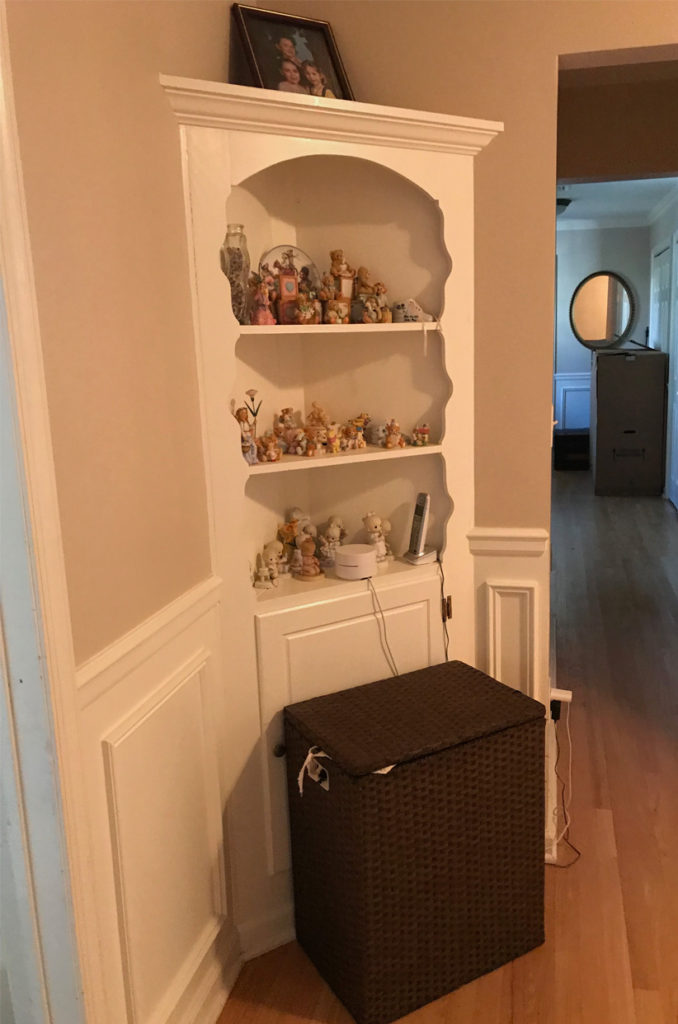
One Last Thing!
The landing upstairs had this great little corner built-in cabinet. But what happens when there are collections of items on shelves in a home for sale? Buyers start focusing on the STUFF and take their attention off the HOUSE. I recommended that she pack up her collections and replace them with 3 larger objects to draw attention to the built-in, but not so much that buyers will stop and stare. Again, the homeowner shopped her house to make the update.
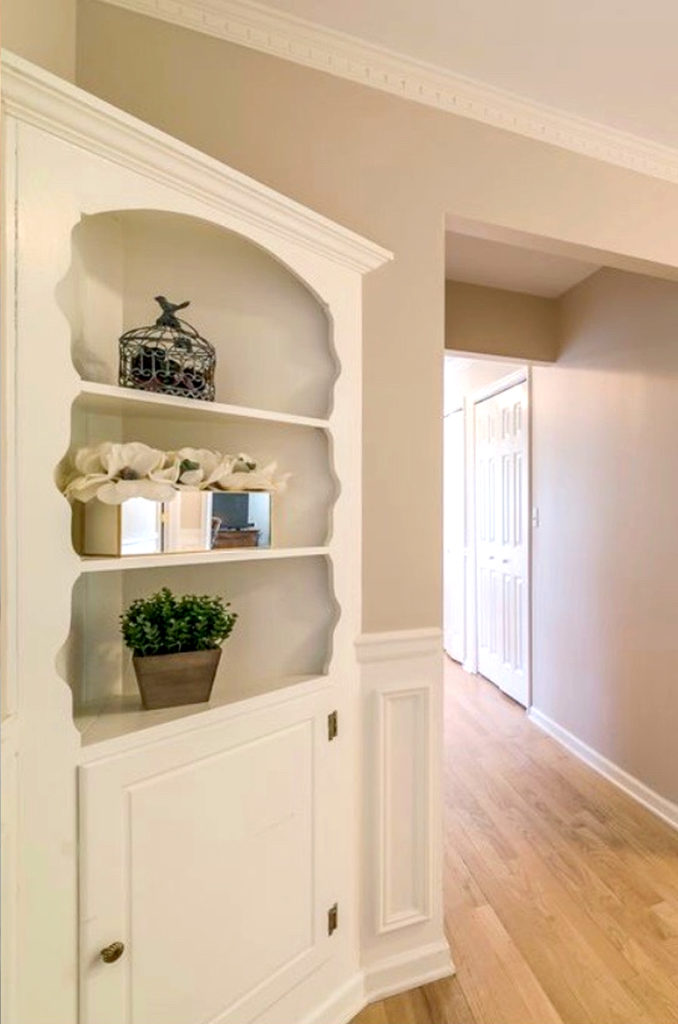
Right:; After, collections removed
I think this home owner did a terrific job taking the consultation notes and putting them into action before her MLS photos were taken!